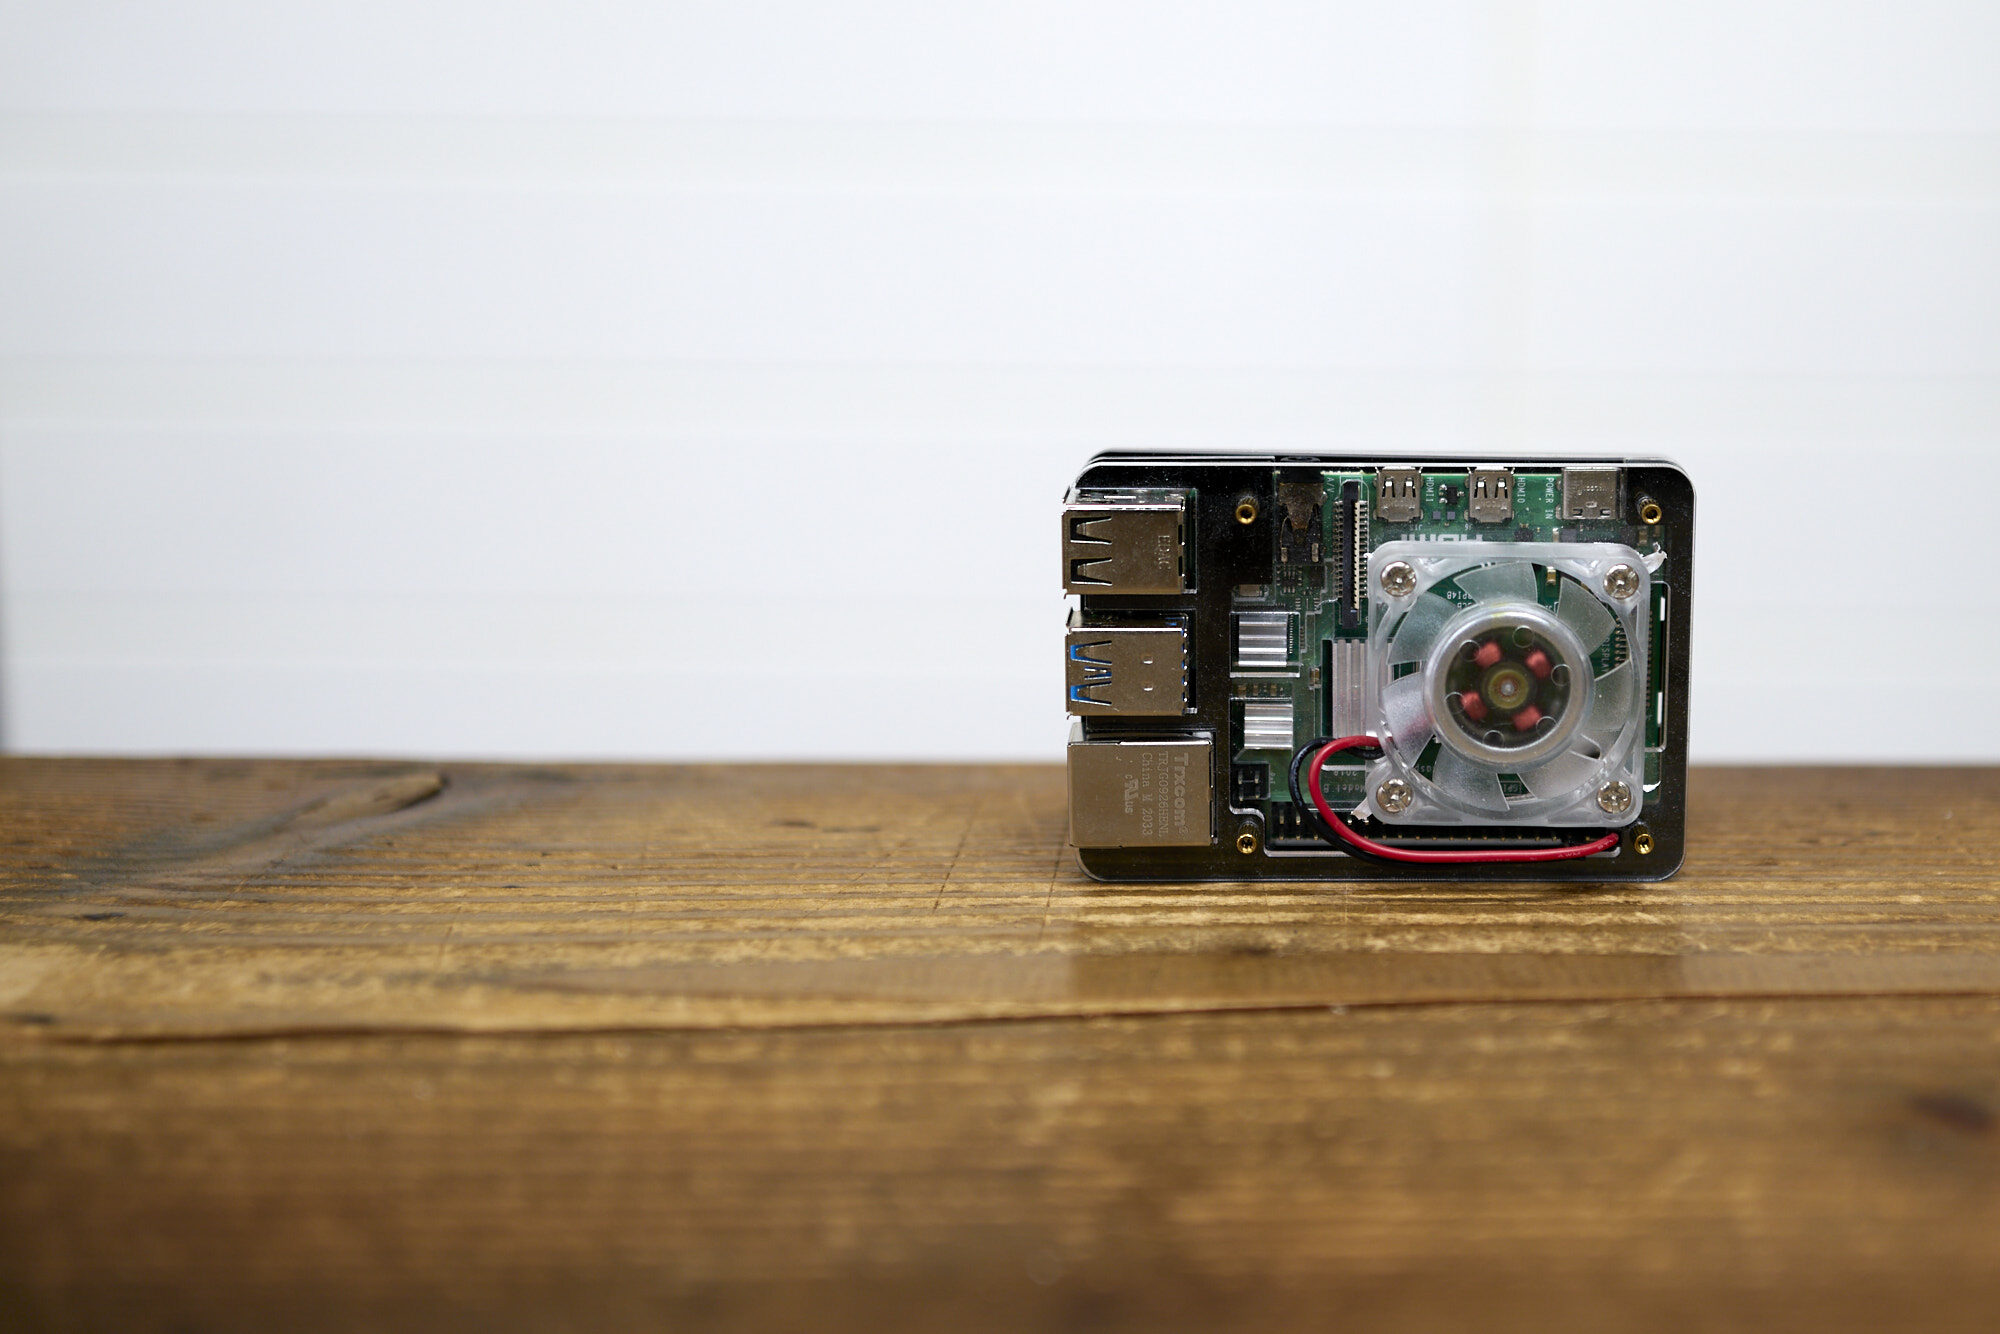
超久しぶりにラズパイを触りました。
というのも、持ってるVOIPアダプタが一つ壊れてFAXが使えなくなったのでTT
たまにしか使わないから、とうとうラズパイで作る事にした訳です。
Raspberry Pi + Asterisk + iaxmodem + hylafax + Fusion IP-Phone Smart
Fusion IP-Phone Smartは元々使ってたので、残りのセッティングです。
凄く参考にした・・・
というかホボコピペですwww
で、忘れちゃいけないし、万一参考サイト様が無くなると困るので、メモ残します。
転載に近いのでスイマセンm(uu)m
Raspberry Pi と Asterisk + iaxmodem + hylafax と Fusion IP-Phone Smart で作る FAX サーバ(1)
↑が参考サイト様です。
では行きます。
目次
- 1 インスト
- 2 設定系
- 2.1 /etc/asterisk/asterisk.conf
- 2.2 /etc/asterisk/asterisk.conf
- 2.3 /etc/init.d/iaxmodem
- 2.4 /etc/asterisk/iax.conf
- 2.5 /etc/iaxmodem/ttyIAX
- 2.6 faxsetup
- 2.7 /etc/hylafax/config.ttyIAX
- 2.8 /etc/hylafax/sendfax.conf
- 2.9 etc/hylafax/hfaxd.conf
- 2.10 /etc/asterisk/extensions.conf
- 2.11 /etc/hylafax/FaxDispatch
- 2.12 /var/spool/hylafax/etc/FaxNotify
インスト
# sudo aptitude install asterisk iaxmodem hylafax-server hylafax-client
当然イメージ焼いてるので次はやらないと思うけど一応。
設定系
/etc/asterisk/asterisk.conf
# diff asterisk.conf asterisk.conf.original

languageprefix = yes          ; Use the new sound prefix path syntax.

runuser = asterisk            ; The user to run as.
rungroup = asterisk           ; The group to run as.
コメントアウトを外すのみ。
/etc/asterisk/asterisk.conf
[general]
context=default
allowoverlap=no
udpbindaddr=0.0.0.0
tcpenable=no
tcpbindaddr=0.0.0.0
transport=udp
srvlookup=yes
allowguest=no
localnet=192.168.0.XXX/255.255.255.0
register => 12345678:abcdefgh@smart.0038.net
qualify=yes
[fusion-smart]
type=friend
username=12345678
fromuser=12345678
secret=abcdefgh
host=smart.0038.net
fromdomain=smart.0038.net
context=default
insecure=port,invite
canreinvite=no
disallow=all
allow=ulaw
allow=alaw
dtmfmode=inband
nat=yes
faxdetect=yes
このまま書くのみ。
username=12345678
fromuser=12345678
↑はSIPアカ
secret=abcdefgh
↑はパスワード
# asterisk -vvvvr
rpi120*CLI> sip show peers

/*終了は*/
rpi120*CLI> quit
起動のチェック。
/etc/init.d/iaxmodem
#! /bin/sh
#
### BEGIN INIT INFO
# Provides:          iaxmodem
# Required-Start:    $syslog $local_fs $network
# Required-Stop:     $syslog $local_fs $network
# Should-Start:      asterisk
# Should-Stop:       asterisk
# Default-Start:     2 3 4 5
# Default-Stop:      0 1 6
# Short-Description: Software modem with IAX2 connectivity
# Description:       Use this software modem with Asterisk or another
#                    IPBX with IAX2 connectivity to send and receive
#                    faxes over VoIP.
### END INIT INFO

PATH=/usr/local/sbin:/usr/local/bin:/sbin:/bin:/usr/sbin:/usr/bin
DAEMON=/usr/bin/iaxmodem
DAEMON_OPTS=ttyIAX
NAME=iaxmodem
DESC=iaxmodem

test -x $DAEMON || exit 0

set -e

case "$1" in
  start)
        echo -n "Starting $DESC: "
        start-stop-daemon --start --quiet --background --make-pidfile --pidfile /var/run/$NAME.pid --exec $DAEMON -- $DAEMON_OPTS
        echo "$NAME."
        ;;
  stop)
        echo -n "Stopping $DESC: "
        start-stop-daemon --stop --quiet --oknodo --pidfile /var/run/$NAME.pid \
                --exec $DAEMON -- $DAEMON_OPTS
        echo "$NAME."
        ;;
  restart)
        echo -n "Stopping $DESC: "
        start-stop-daemon --stop --quiet --oknodo --pidfile /var/run/$NAME.pid \
                --exec $DAEMON -- $DAEMON_OPTS
        echo "$NAME."
        sleep 1
        echo -n "Starting $DESC: "
        start-stop-daemon --start --quiet --background --make-pidfile --pidfile /var/run/$NAME.pid --exec $DAEMON -- $DAEMON_OPTS
        echo "$NAME."
        ;;
  status)
        if [ -s /var/run/$NAME.pid ]; then
            RUNNING=$(cat /var/run/$NAME.pid)
            if [ -d /proc/$RUNNING ]; then
                if [ $(readlink /proc/$RUNNING/exe) = $DAEMON ]; then
                    echo "$NAME is running."
                    exit 0
                fi
            fi

            # No such PID, or executables don't match
            echo "$NAME is not running, but pidfile existed."
            rm /var/run/$NAME.pid
            exit 1
        else
            rm -f /var/run/$NAME.pid
            echo "$NAME not running."
            exit 1
        fi
        ;;
  *)
        N=/etc/init.d/$NAME
        echo "Usage: $N {start|stop|restart|status}" >&2
        exit 1
        ;;
esac

exit 0
このまま書きました。
/etc/asterisk/iax.conf
[general]
bindport=4569
iaxcompat=yes
language=ja
bandwidth=medium
disallow=all
allow=ulaw
allow=alaw
allow=gsm
jitterbuffer=no
;dropcount=2
;maxjitterbuffer=500
;maxexcessbuffer=80
;minexcessbuffer=10
;jittershrinkrate=1
;tos=lowdelay
;mailboxdetail=yes

[iaxmodem]
type=friend
username=iaxmodem
secret=password
host=dynamic
disallow=all
allow=ulaw
allow=alaw
allow=gsm
requirecalltoken=no
context=fax-out
ほぼこのまま書いた。
/etc/iaxmodem/ttyIAX
device          /dev/ttyIAX
owner           uucp:uucp
mode            660
port            4570
refresh         300
server          127.0.0.1
peername        iaxmodem
secret          password
cidname         John Doe
cidnumber       8005551212
codec           slinear
peername iaxmodem
secret password
の行はiax.confと合わせるらしい。
# /etc/init.d/iaxmodem restart
Stopping iaxmodem: iaxmodem.
Starting iaxmodem: iaxmodem.
# ps -ef | grep iaxmodem
リスタートでチェック。
faxsetup
# /usr/sbin/faxsetup

---- 対話でほぼYES ↓だけ参考通りNOにした。 ----

Do you want to run faxaddmodem to configure a modem [yes]? no
/etc/hylafax/config.ttyIAX
CountryCode:            81
AreaCode:               50
FAXNumber:              +81.50.XXXX.XXXX
LongDistancePrefix:     0
InternationalPrefix:    001
DialStringRules:        etc/dialrules
ServerTracing:          0xFFF
SessionTracing:         0xFFF
RecvFileMode:           0600
LogFileMode:            0600
DeviceMode:             0600
RingsBeforeAnswer:      1
SpeakerVolume:          off
GettyArgs:              "-h %l dx_%s"
LocalIdentifier:        "050.XXXX.XXXX"
TagLineFont:            etc/lutRS18.pcf
TagLineFormat:          "From %%l|%c|Page %%P of %%T"
MaxRecvPages:           200
#
#
#
#
# Modem-related stuff: should reflect modem command interface
# and hardware connection/cabling (e.g. flow control).
#
ModemType:              Class1          # use this to supply a hint

#
# Enabling this will use the hfaxd-protocol to set Caller*ID
#
#ModemSetOriginCmd:     AT+VSID="%s","%d"

#
# If "glare" during initialization becomes a problem then take
# the modem off-hook during initialization, and then place it
# back on-hook when done.
#
#ModemResetCmds:        "ATH1\nAT+VCID=1"       # enables CallID display
#ModemReadyCmds:        ATH0

Class1AdaptRecvCmd:     AT+FAR=1
Class1TMConnectDelay:   400             # counteract quick CONNECT response

#
# If you have trouble with V.17 receiving or sending,
# you may want to enable one of these, respectively.
#
Class1RMQueryCmd:      "!24,48,72,96"  # enable this to disable V.17 receiving
Class1TMQueryCmd:      "!24,48,72,96"  # enable this to disable V.17 sending

#
# You'll likely want Caller*ID display (also displays DID) enabled.
#
ModemResetCmds:         AT+VCID=1       # enables CallID display

#
# The pty does not support changing parity.
#
PagerTTYParity:         none

#
# If you are "missing" Caller*ID data on some calls (but not all)
# and if you do not have adequate glare protection you may want to
# not answer based on RINGs, but rather enable the CallIDAnswerLength
# for NDID, disable AT+VCID=1 and do this:
#
#RingsBeforeAnswer: 0
#ModemRingResponse: AT+VRID=1

# Uncomment DATE and TIME if you really want them, but you probably don't.
#CallIDPattern:          "DATE="
#CallIDPattern:          "TIME="
CallIDPattern:          "NMBR="
CallIDPattern:          "NAME="
CallIDPattern:          "ANID="
#CallIDPattern:          "USER="        # username provided by call
#CallIDPattern:          "PASS="        # password provided by call
#CallIDPattern:          "CDID="        # DID context in call
CallIDPattern:          "NDID="
#CallIDAnswerLength:    4
番号系は自分に合わせる。
文字化けしてたので
TagLineFormat: “From %%l|%Y-%m-%d %T|Page %%P of %%T”
に変更した。
/etc/hylafax/sendfax.conf
MaxTries: 2
MaxDials: 2
リトライの設定。
# /etc/init.d/hylafax restart
hylafax再起動。
etc/hylafax/hfaxd.conf
#JobFmt:                "%-3j %3i %1a %6.6o %-12.12e %5P %5D %7z %.25s"
JobFmt:                 "%-5j %1a %-12.12e %5P %5D %Y %.27s"

TimeZone:               local
コメントアウトを消して、TimeZoneの追加。
/etc/asterisk/extensions.conf
[globals]
USEVOICEMAIL=YES
SPEAKINGCLOCK=317
ECHOTEST=333
MYNUMBER=05012345678

[default]
exten => 12345678,1,Dial(IAX2/iaxmodem)
exten => 12345678,n,Hangup

/*最後に*/
exten => _X.,1,Set(CALLERID(num)=${MYNUMBER})
exten => _X.,n,Set(CALLERID(name)=${MYNUMBER})
exten => _0.,n,Dial(SIP/${EXTEN}@fusion-smart,300,T)
exten => _X.,n,Hangup
/etc/hylafax/FaxDispatch
SENDTO=aaaa@example.co.jp
FROMADDR=faxserver@example.co.jp
FILETYPE=pdf;
終了ー
/var/spool/hylafax/etc/FaxNotify
FROMADDR=faxserver@example.co.jp
参考サイトにはなかったけど、WINからFAXする時に送信通知のメールが迷惑メール落ちしてたので対策。
あとは『Winprint HylaFAX Reloaded』をWINにインストすれば印刷アクションからFAX可能。
その為に
faxadduser
でuser追加。
あとはIPと合わせて設定するのみ。
ありがとう御座いました。